Manual · Chapter 9
Transitions
Putting a transition on a cut, changing its length, switching transitions off, and making transitions of your own.
A transition carries the picture from one clip to the next: a dissolve, a zoom, a whip pan, a glitch, a light leak. In DriftEdit a transition sits on the cut between two clips that touch.
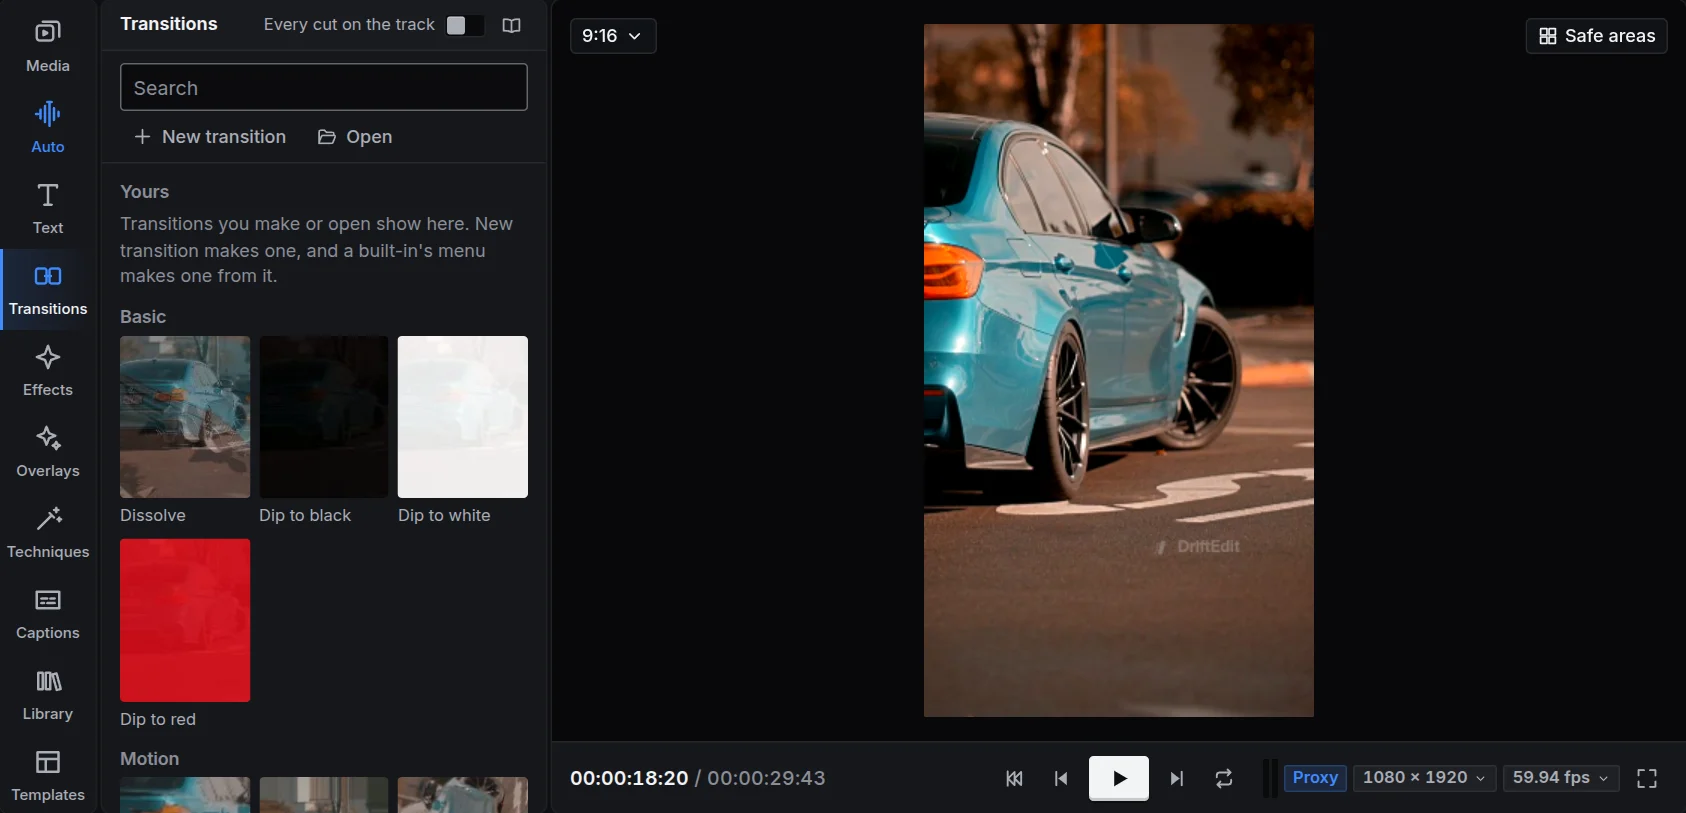
Putting one on a cut
- Drag a transition from the Transitions panel onto the cut between two clips, or
- select one or more cuts (click the line between two clips), or several clips, and click a transition: it goes on every cut between the clips chosen, or after each of them when they are apart.
Every cut on the track, a switch in the panel's head, applies the next transition you choose to every cut of the selected clip's track at once.
Its length
A transition shows as a band over the cut. Drag either edge to make it longer or shorter; select it to change its settings in the inspector. A transition needs a little footage beyond each clip's edge to play through; when there is not enough, it is shortened to what there is. In the inspector, On the cut, After the cut and Before the cut place it; one that needs footage the clips do not have is greyed out and says why, and going back to a placement with more room gives the transition back the length you set. Placed, a transition lasts the same time whatever the edit's frame rate.
Hold Alt while you drag an edge to move that edge alone: the transition then runs longer on one side of the cut than on the other, and is half way through at the cut itself. Dragged without Alt, a transition like that grows or shrinks by as much on both sides. Choosing a placement in the inspector puts it back as that placement says.
A cut can take two transitions, one above the other: drop a transition on the top half of the band already there. Each is drawn half as tall, with its own edges and settings; the upper plays over the picture the lower makes, so a flash, a glitch or a zoom lands on top of a slide or a dissolve. No more than two.
Switching them off
Select clips and choose, in the Sequence menu or a clip's menu, Turn transitions off to make the cuts hard without losing the transitions, Turn transitions on to bring them back, or Remove transitions to delete them.
Finding one
Transitions are grouped: dissolves, zooms, slides and pushes, wipes, spins, blurs, glitches, light and more. The search box looks through all of them. The chapter Reference lists every one.
Transitions of your own
New transition opens the creator:
- Recipe: a base transition and up to four layers on top, each with its settings: a zoom with a flash and a shake, for example.
- Code: write the transition in GLSL, checked on WebGL 2 and WebGPU as you type, with the first error's line named and its settings as a form.
The preview plays on the selected cut. Save keeps it under Yours; a built-in transition's menu also makes one from it. Export saves a .drifttransition file to share, and Open brings one in. Code from someone else's file runs only after you allow it. Your transitions travel with the styles and projects that use them, and, signed in, to your other devices.